1/6 Scale Garage
(Page 5)
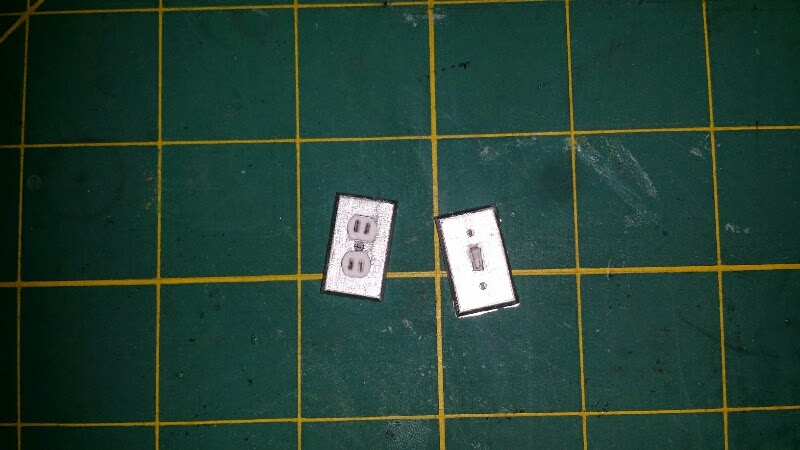
I wish I could remember what artisan I got the door knob, light switch and outlet plates, I would love to give him/her credit (I can't even find the website again...). I was surfing along and found a 1/6 scale high lift jack and purchased it, but I noticed there were several other bits and bobs for sale so I ordered up a few samples.
I colored these in a silver, I think they will work out great.
____________________________________________
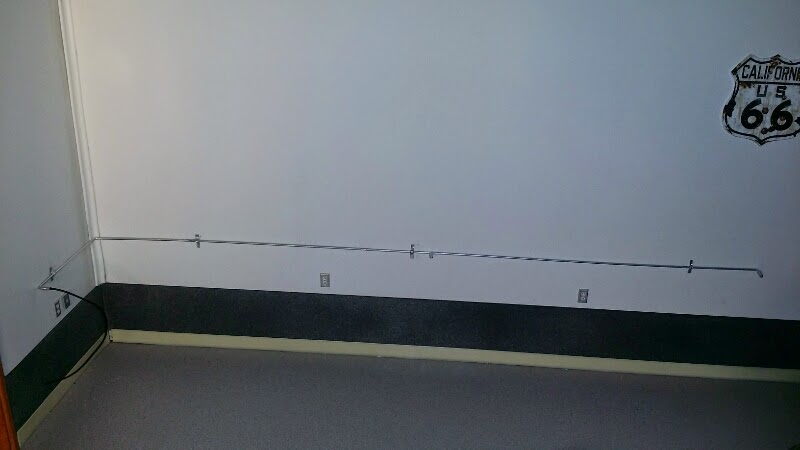
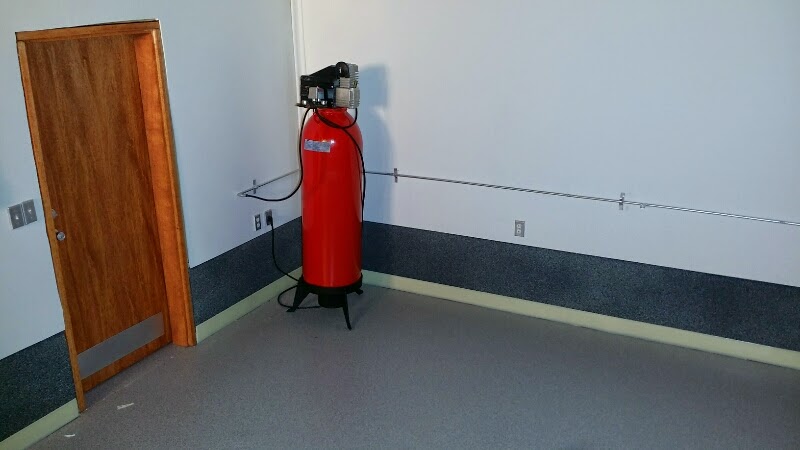
I installed a little plumbing section of airline and added a few outlets today. My garage had guests and I didn't have much time to accomplish much, and spending way too much time and money on my SCX10 JK.
_________________________________________
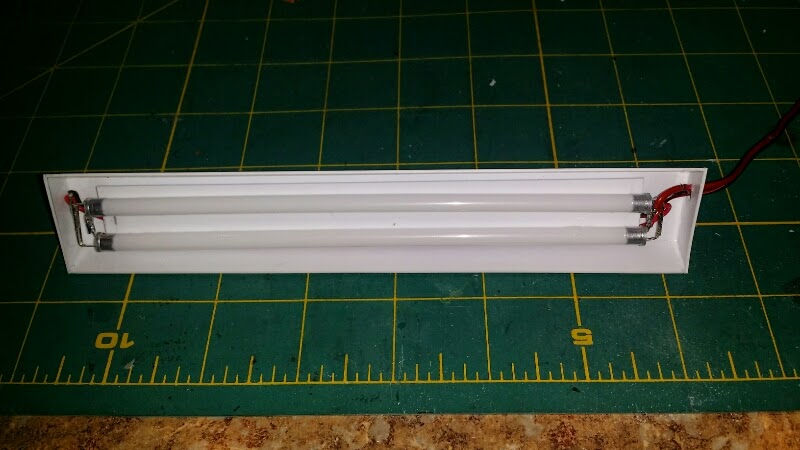
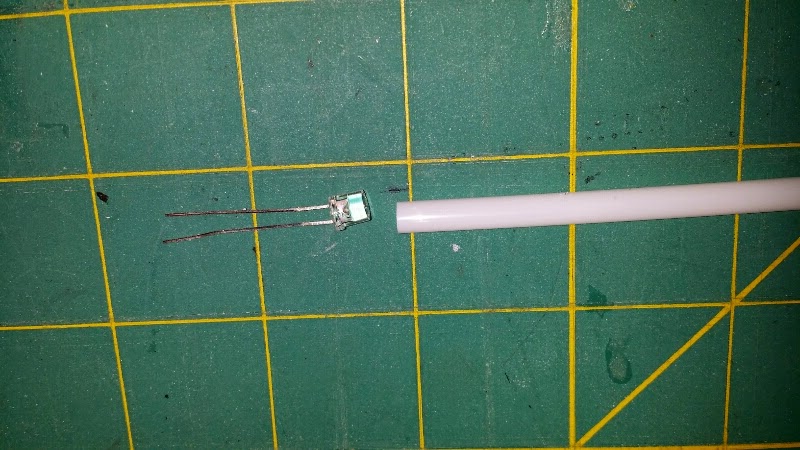
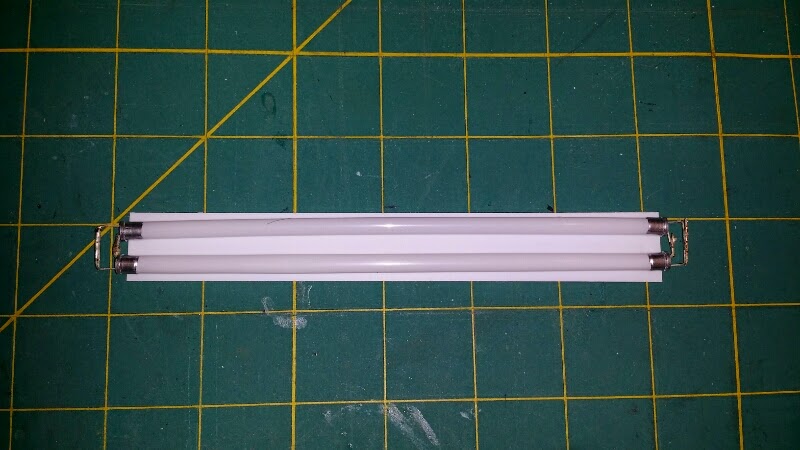
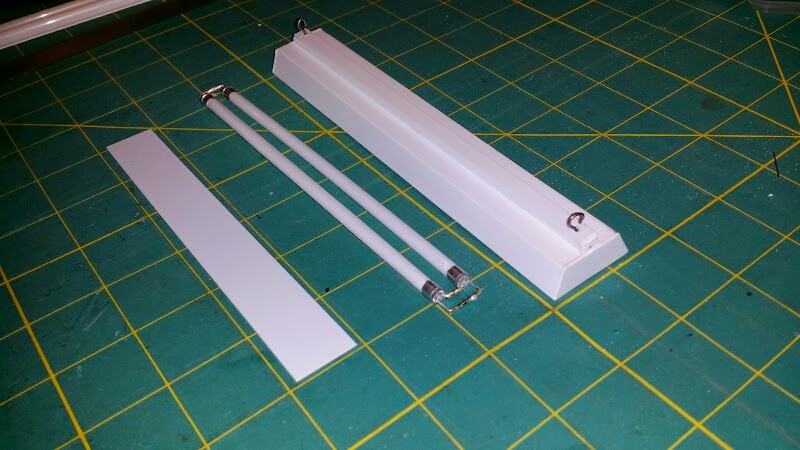
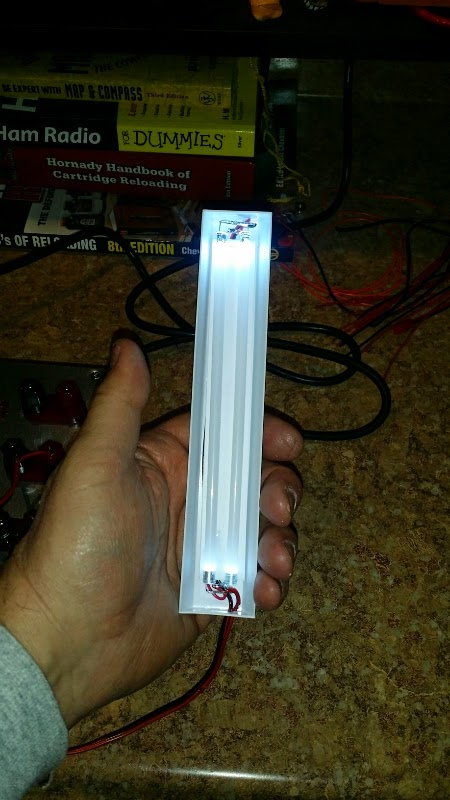
Trying my hand at some shop lights. They are about 6 inches long.
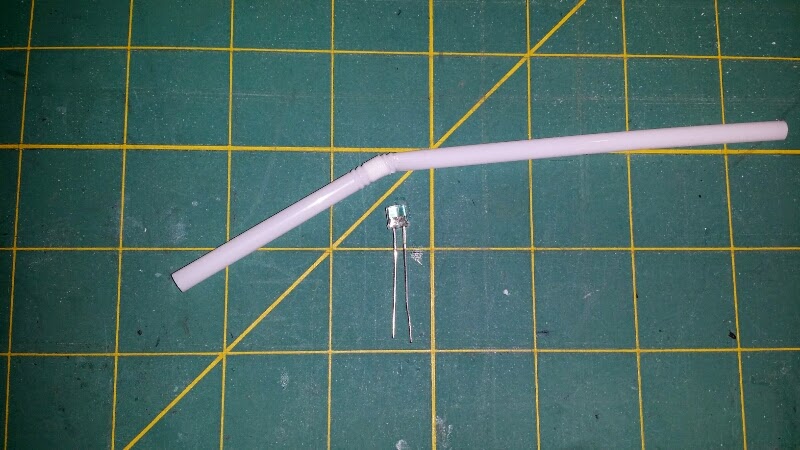
Yes, those are 5mm super bright white LED's pressed into the ends of straws. This was my first effort was using white straws and a band of silver paint on the outside edges. I clocked the positive leads (on both ends) facing each other and soldered them together, then routed the negative leads just to the outside of that (both ends).
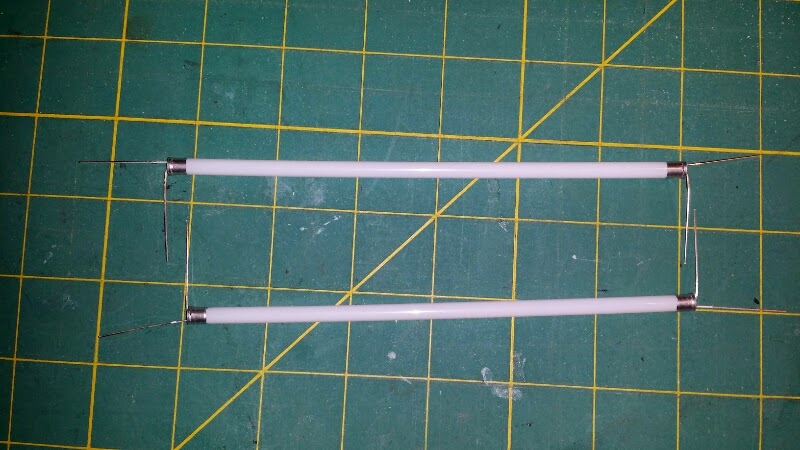
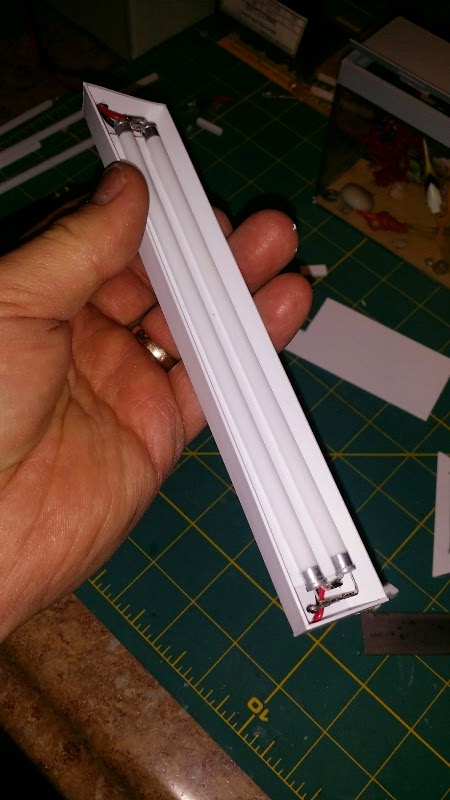
I joined the two ends up with some 16 gauge wire (positive to positive and negative to negative). In the photo above you can't see the wires as I installed a false bottom behind the tubes to hide the wires (although if you look close you can see the false bottom).
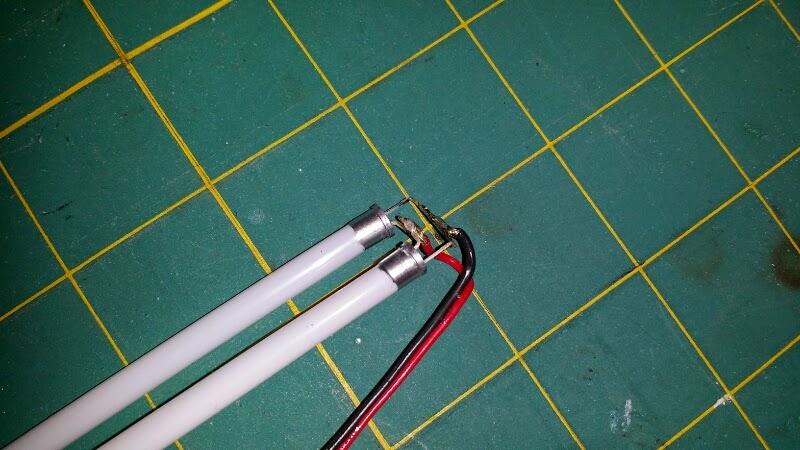
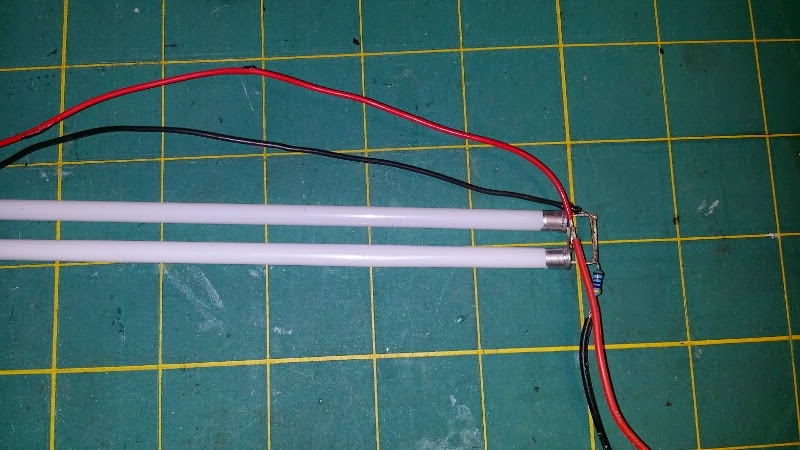
I added a 1/4 watt 10 ohm resistor to the the negative side as well as soldering a JST battery connector on to the positive side and of course to the negative side via the 1/4 watt resistor.
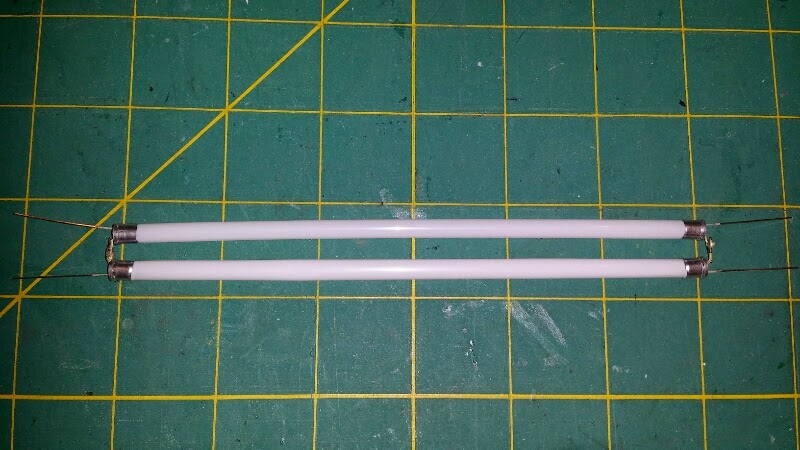
It works exactly how I thought it would except the light isn't as strong at the center of the straw, this setup may work better using clear straws. I will work up a set of clear ones to test when I run across some, so far fancy colored ones seem to rule the day.
In the end, the visual effect of replicating florescent tubes that actually come on when you put the B+ to it is a win!By popular request I have made up a short how-to for these lights:
I hope this helps to clarify.
Material to start off this project (faux florescent tubes) I used:
Two straws cut to 6 inches
Four 5MM high intensity white LED's
One 1/4 watt - 10 ohm resistor
One JST RC male connector plug
7" black and red 16 gauge wire
Tools required:
Soldering iron and a small length of rosin core electrical solder
Needle nose pliers or the equivalent
To start off, I gently slipped the LED's into the ends of the precut 6" tubes, then carefully make a silver strip (I use a silver paint pen) around the tube to simulate the tube's metal end caps.
Make sure to clock the positive leg of the LED (the long one) to face 6 o'clock, then rotated the bottom tube over 180 degrees so that all four long legs (positive) are touching each other.
Next I shortened up the long legs to the approximate length that I wanted the tubes apart inside the light fixture and soldered them together.
Then I bent the short legs together in a similar fashion taking care to leave enough gap between the the positive and the negative legs as to ensure they won't have the opportunity to be kissing cousins and mess up your great day!
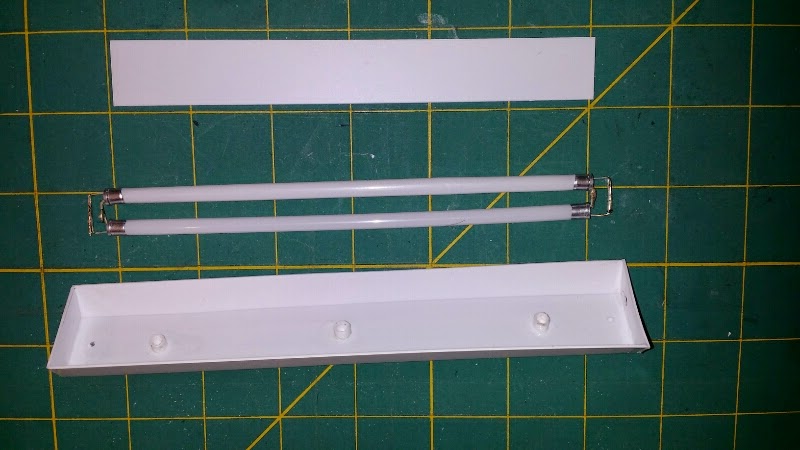
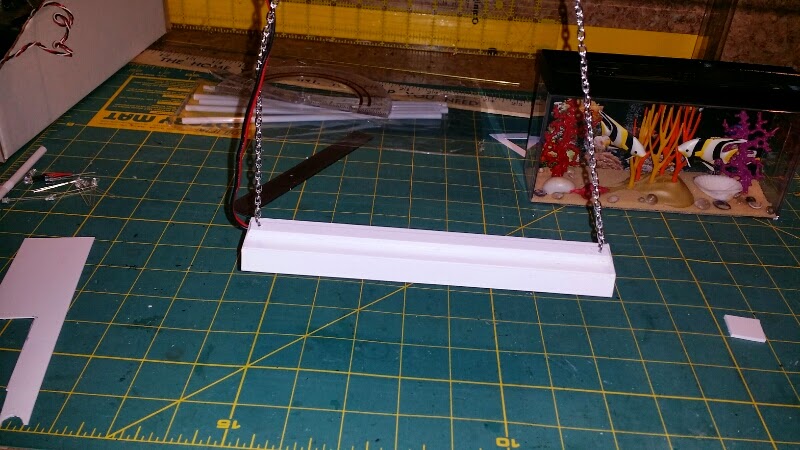
I also measured and cut a backing piece or 030 styrene that I will glue the tubes to when they get installed into the light fixture. This piece will hide the 7" of wire that join up both sides resulting in a much cleaner appearance.
I took my 7" of red and black wire and joined all four of the positive legs together, then joined all four of the negative legs together.
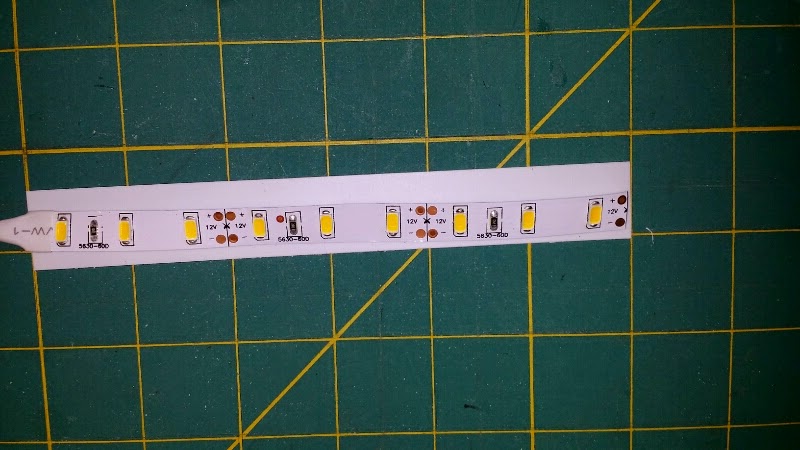
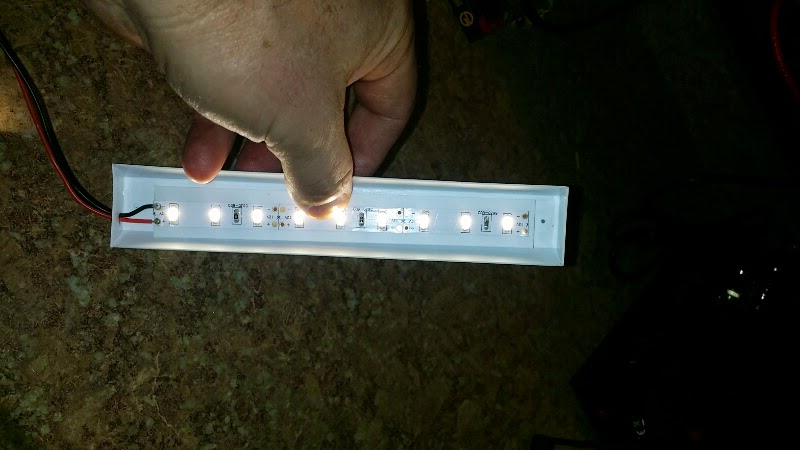
As an alternative to the straw tubes, you could just as well use an LED strip which works excellent in producing maximum light from this set up.
Building the light fixture is pretty straight forward so I won't bore you with the details of gluing a couple of strips of styrene together, but here are a couple of snaps sans the wiring.
As I mentioned earlier, the effect of the tubes is satisfactory but the light diminished the closer it get to the middle. I haven't tried it yet with clear straws but that may achieve the desired results. The overall look and feel of a shop light has been achieved although the LED strip version will probably win the day to do the majority of lighting around the garage.
_________________________________________
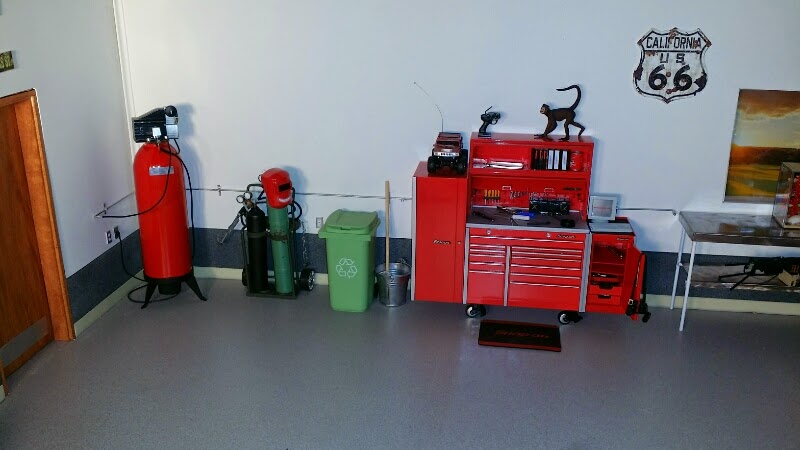
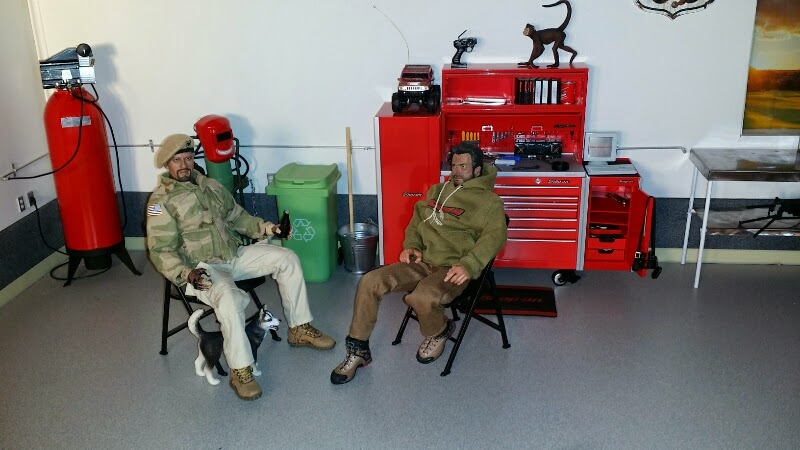
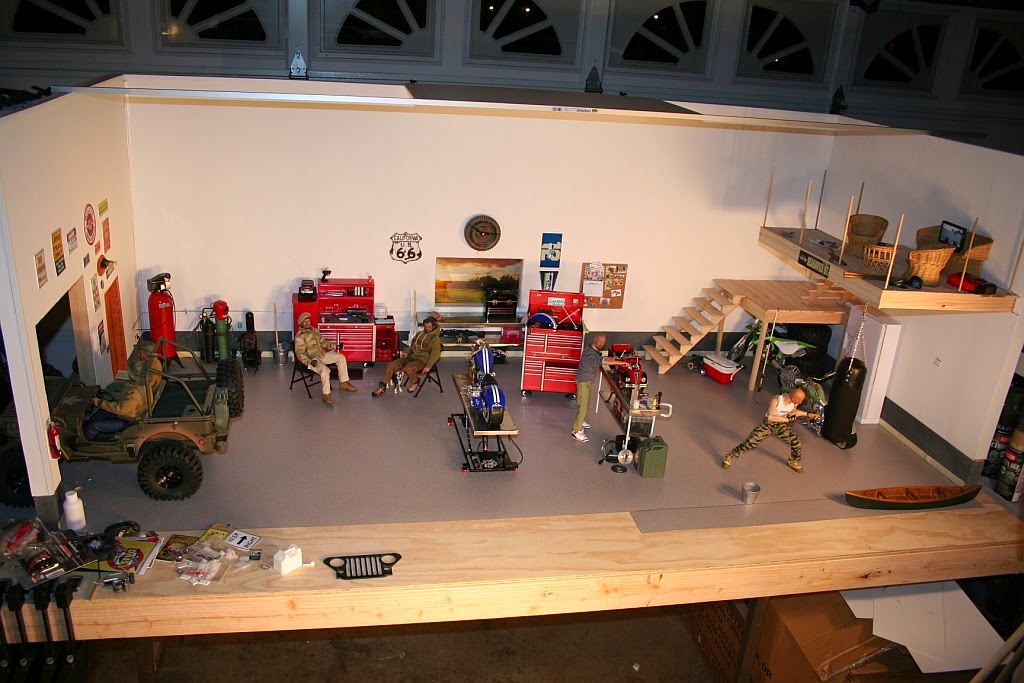
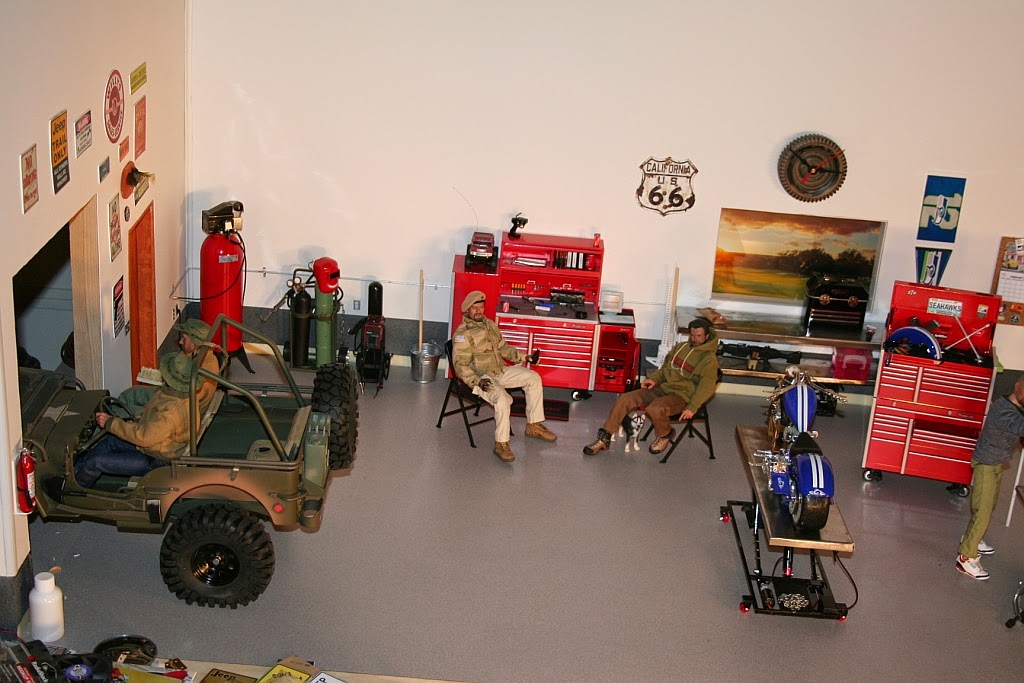
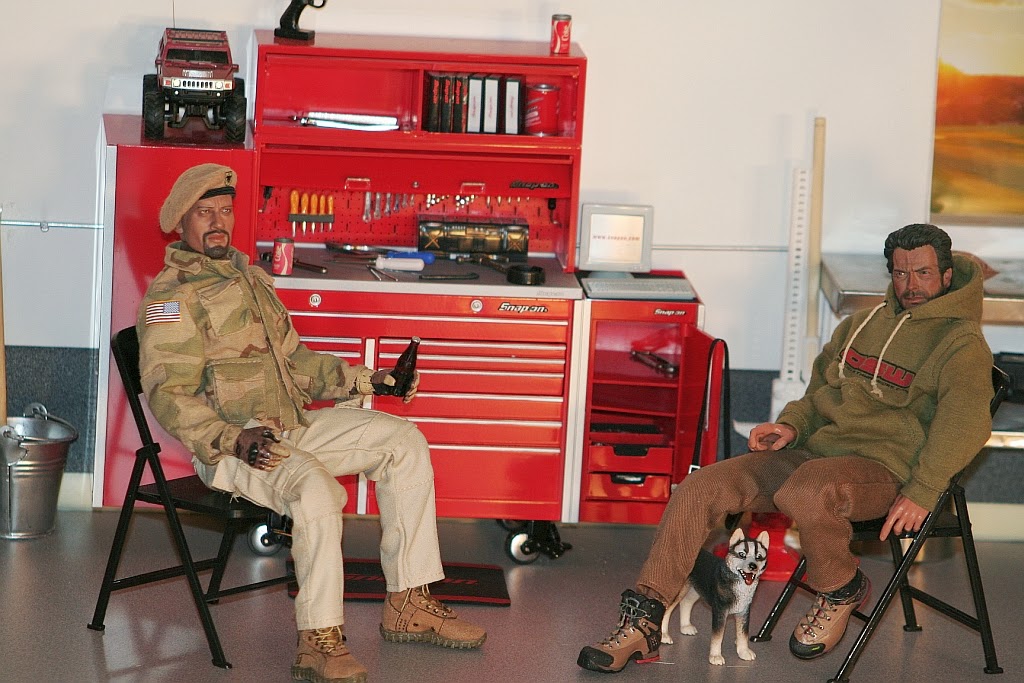
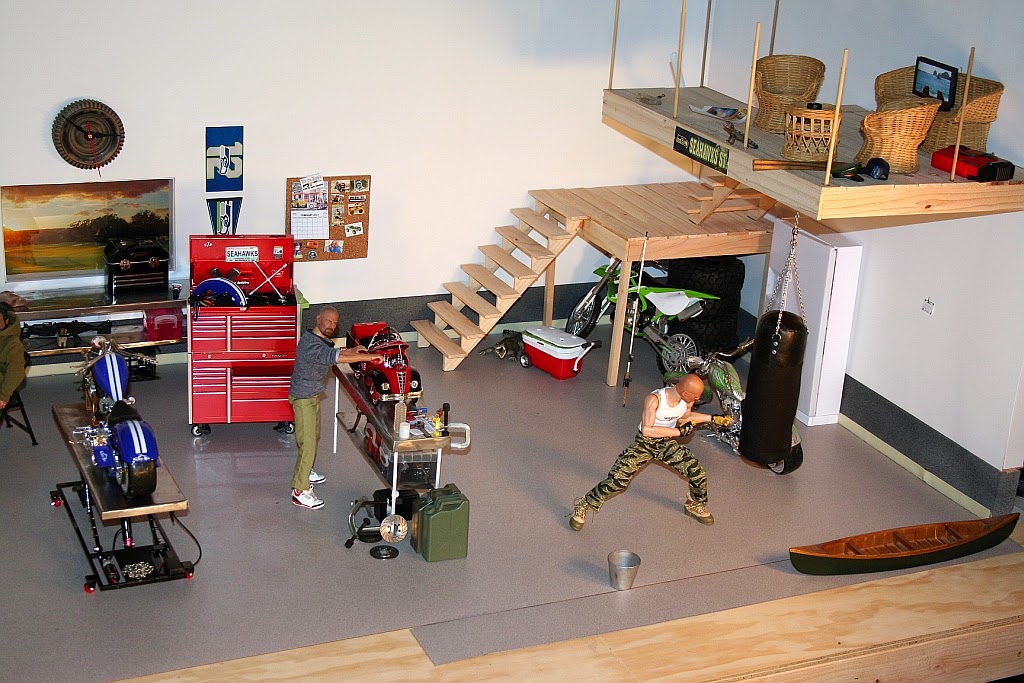
Here is a overhead wide angle of the garage as it sets now - but there are dozens of projects in various states of completion ranging from conceptualized on my drawing board to finished in the wings awaiting one thing or another that aren't shown. So please pardon my dust for a work in progress.
_______________________________________
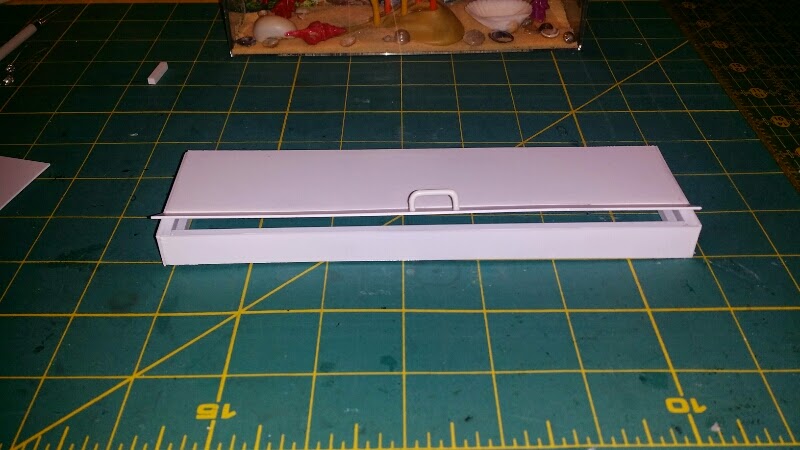
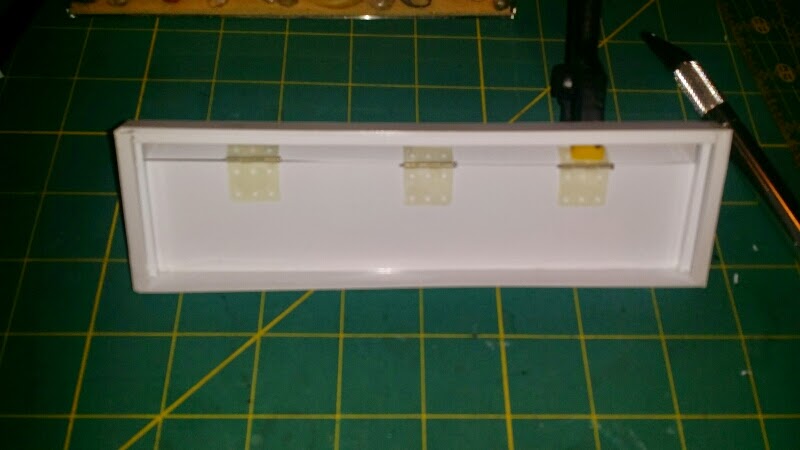
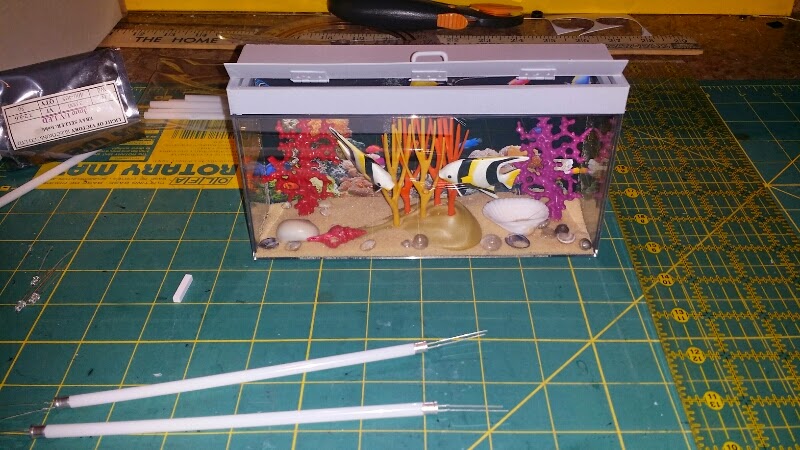
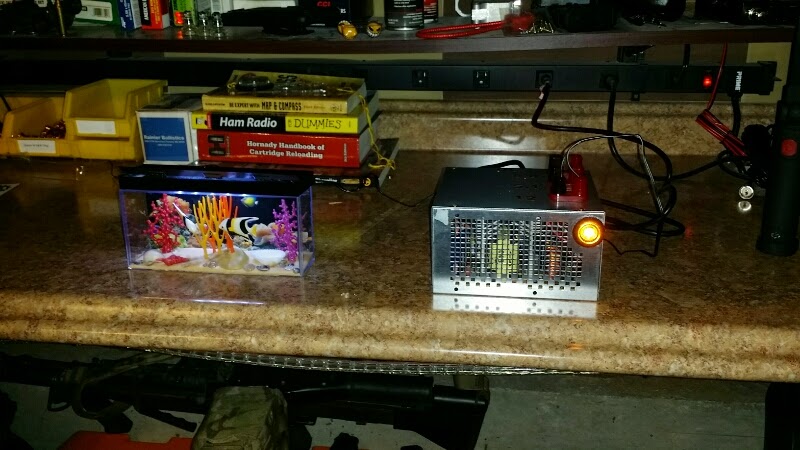
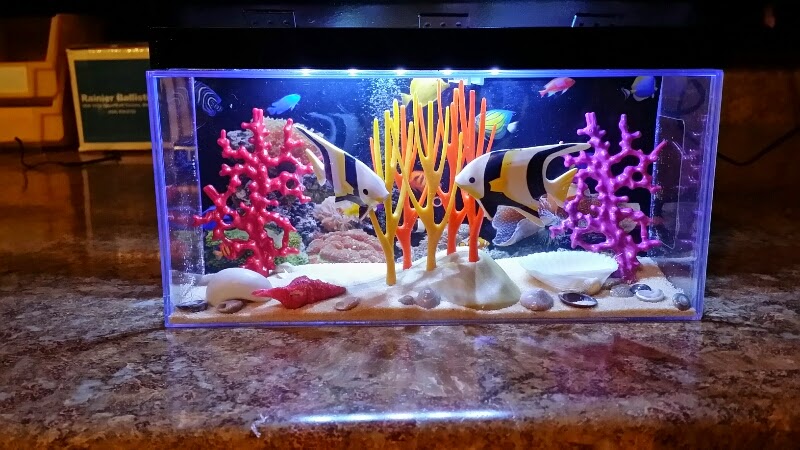
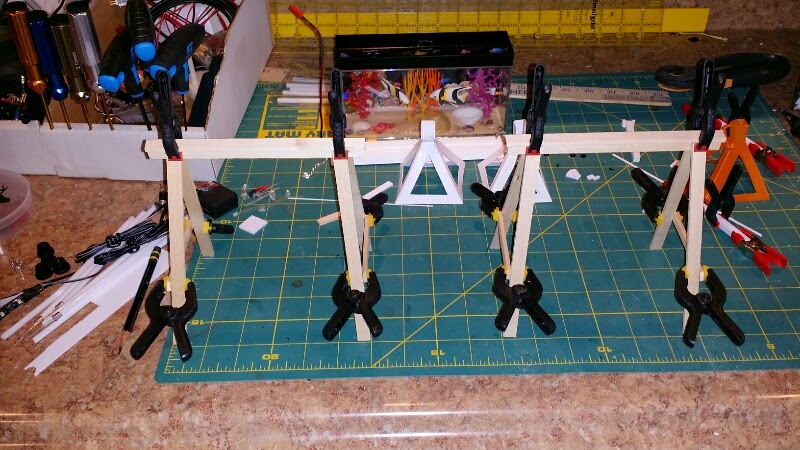
I built this little fish tank last month and it has been sitting around waiting to be finished. Hood made, lights installed, power on. I'll probably put together a little stand for it as opposed to just setting it on the work bench.
_______________________________________
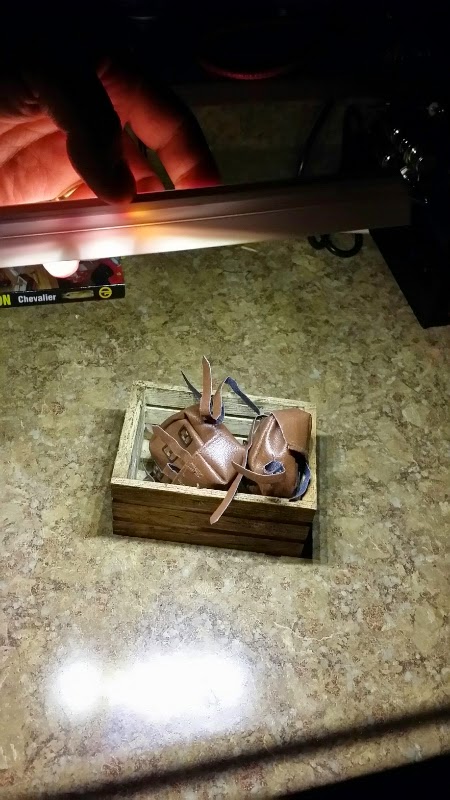
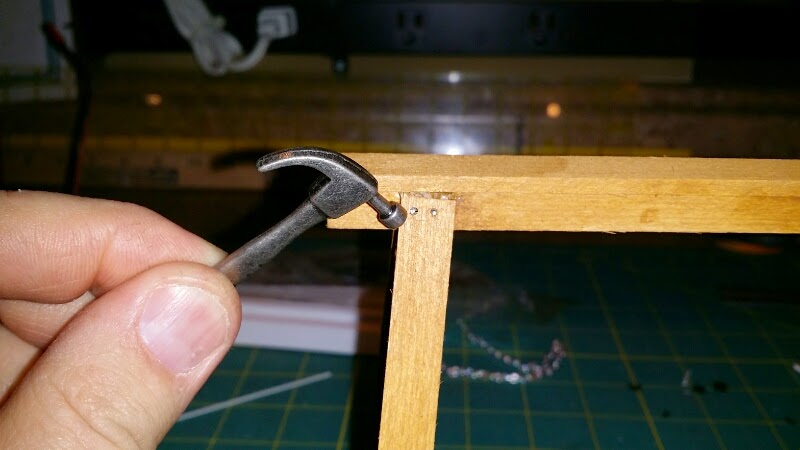
It was the teeniest, tiniest hammer ever to put this together!